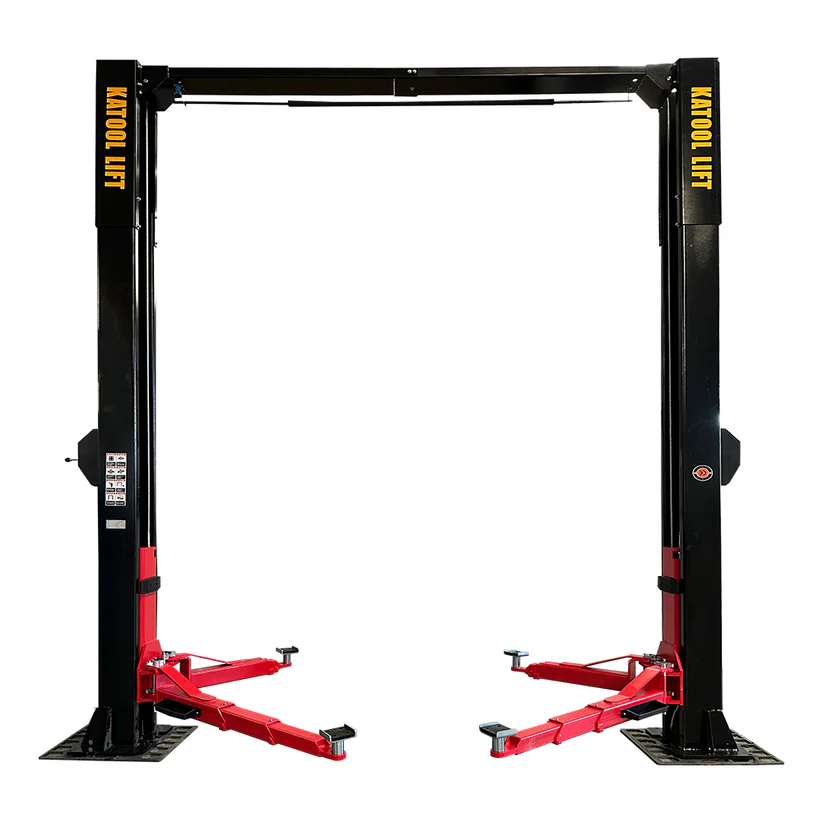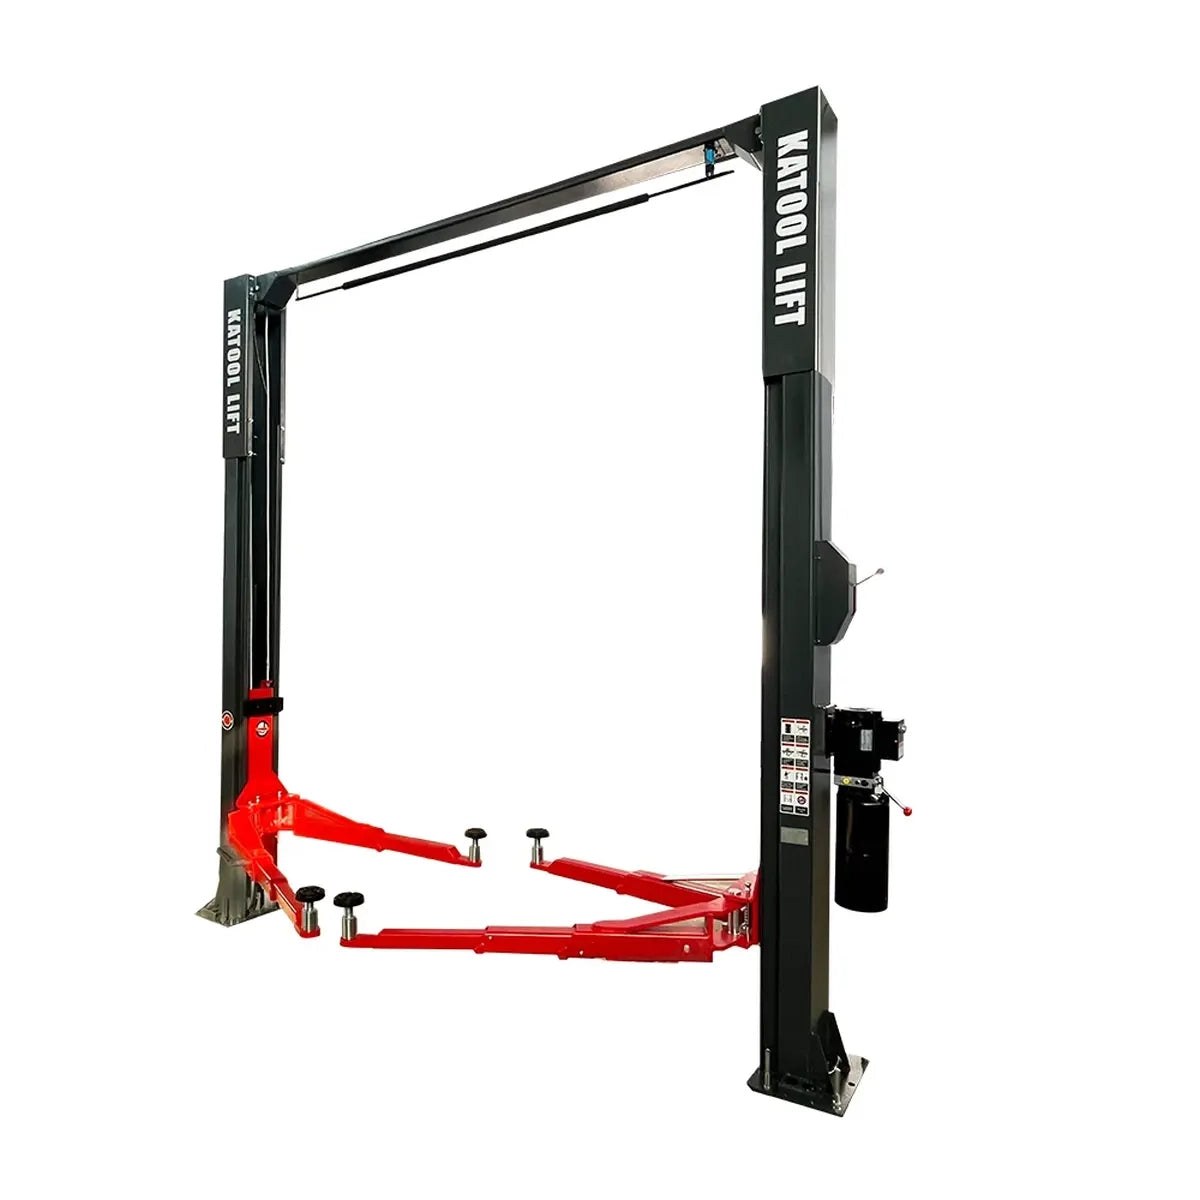
How to Install a Car Lift: Planning Basics
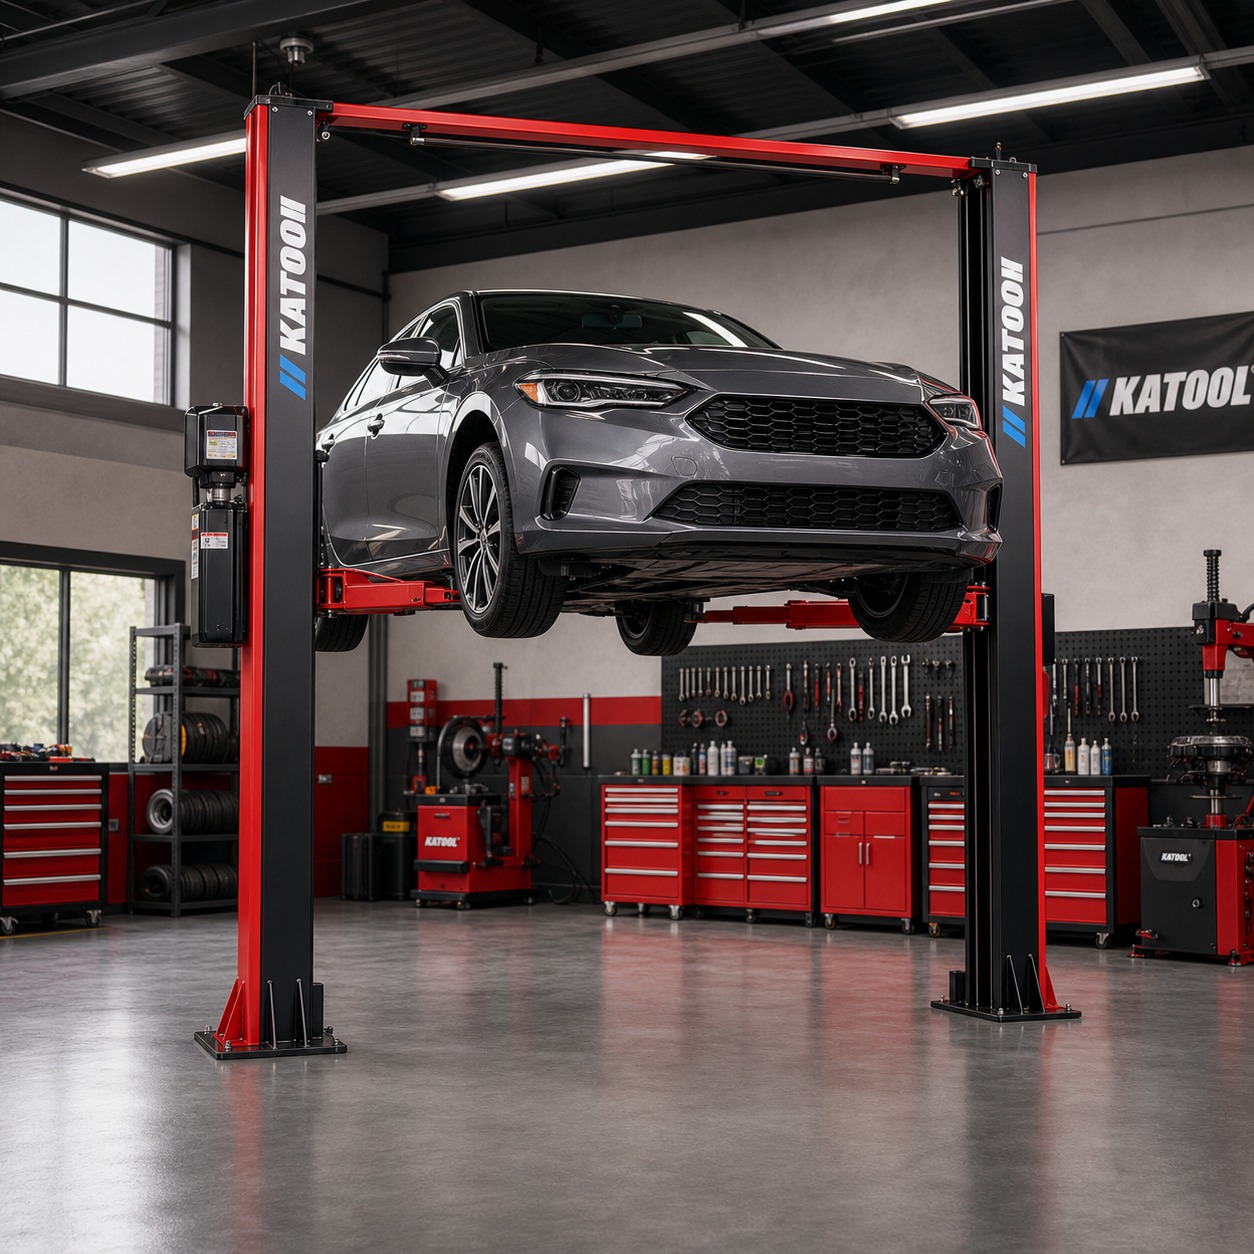
How to Install a Car Lift: Planning Basics
Installing a car lift begins with planning, not with delivery day. The best results come from understanding the available space, the vehicles you expect to lift and how the equipment will fit into normal garage or workshop workflow.
Measure the Space Carefully
Ceiling height, floor width, vehicle approach room and surrounding obstacles all affect where the lift can go. A lift that fits on paper may still be inconvenient if the room does not support natural use.
Review Floor and Structural Requirements
A lift depends on a suitable floor and correct installation support. Planning for slab condition and anchoring needs early helps avoid costly surprises once the equipment arrives.
Match the Lift to the Vehicles
Installation planning should account for the heaviest, longest or tallest vehicles the lift will handle. Vehicle range often determines whether the chosen model truly fits the intended use.
Think About Daily Bay Movement
Technicians need room to move around the lift, position vehicles and access tools comfortably. Good placement improves both safety and long-term workflow efficiency.
Prepare for Power and Operating Needs
Electrical supply and control placement matter because the lift should be easy to operate without awkward routing or access limitations. Practical daily use is part of good installation planning.
Conclusion
Successful lift installation depends on careful preparation. When space, floor, vehicles and workflow are all considered early, the result is safer and more useful over the long term.